Transformation Tuesday: 1960’s Dresser

I moved into my Fiance’s home and he had a lot of hand me down furniture.  And I was like “We are soooo buying new furniture” in my bratty voice.  And then I actually looked at the prices of new furniture and I was like “We are soooo NOT buying new furniture” in my OOPS I was wrong voice.  Instead, I decided to revamp some of his old pieces to match my current pieces.  I went for a beach theme in our bedroom as the Florida girl in me feels most at peace at the beach.

From Drab to Fab!Dresser Makeover

I’m admitting now that I’m not a professional DIY-er.  And honestly I kind of just do my own thing and see how it goes.  Luckily this dresser turned out stylish and super functional.  It’s made a great piece in our bedroom.

How I updated this 1960’s Dresser:

  1. Sand the crap out of the entire thing (legs, drawers, etc)
  2. Painted with a flat Beyer Paint & Primer.  I only did one coat, but touched up spots that needed a little more love
  3. Let dry for 24 hours +
  4. Add new hardware if desired.  I got the new knobs at Home Depot for like $1.20/piece
  5. Put your stuff in it and admire your work!

Transformation Tuesday: Gallery Wall

Josh’s home has a large, “Plain Jane” wall leading upstairs.  One day I decided I couldn’t take the “Plain Jane” wall anymore and decided to make a Gallery Wall.  Lucky for me I already had a ridiculous amount of black picture frames from when I moved from my apartment to his house.

**TIP: DO NOT pay full price for frames.  Try places like TJMaxx, Marshalls, or better yet Ross.  Frames that I would have easily paid $20-30 dollars for, I paid $6-$12 at the above mentioned stores.  Also, the Dollar Store sells picture frames that are easy to spray paint to the desired color.

Before.  There are few patched holes that I simply covered with picture frames… Sometimes I’m cheap but clever.  🙂

5c80b38f-106d-4753-bf6b-860bb4ef5832

All I needed to do was print out some pictures.  I used Walgreen’s as I always tend to find a pretty good coupons for 1 hour photos.  And I also wanted to add a few quotes and a monogram letter.

There are a LOT of ways you can do a Gallery Wall.  You can make it super symmetrical, use different colors and sizes of frames, maybe don’t use frames at all.  I preferred my frames at different measurements, no exact formula, and different sizes of frames.  This made for easy hanging as I didn’t measure any type of space between frames.

**TIP: There are a lot of templates online or at stores to help create perfect spacing in between pictures.  I’ve found templates on Pinterest, Michael’s, & Hobby Lobby.**

After.  This little Gallery Wall added just the right amount of decoration.  Since this picture was taken, we’ve added a few more pictures.  Once you have the hang of it, the possibilities are endless.

df30ad72-0801-4a2a-bd6b-4ef1b17fd94e

Guest Bathroom Makeover: Decor

This is my favorite part of a make over!!!  The decor!  I love searching for good deals and pulling all my finds together to make a beautiful room.  I got lucky and ended up finding all my finds at TJMaxx and spent a total of $55 for the entire bathroom decor.

Once the paint had fully dried and the bathtub was finally done, I wanted to tackle that old and out dated mirror.  I don’t really like medicine cabinet mirrors as they tend to store junk.  We are lucky enough to have a small closet outside the bathroom that we use as a medicine cabinet and towel holder.  Therefore, I opted for a statement mirror ($24 at TJMaxx).

Mirror before & after

Then came the hard yet fun part of finding a rug, towels, and accents to pull the whole bathroom together.  I wanted to go with a navy blue to add something pretty against the stark white walls.  Here’s what I found all for under $30.

IMG_0438


IMG_0440


IMG_0437

Guest Bathroom Makeover: Painting

All of Josh’s bachelor pad bathrooms were painted a poop green color.  I’m not sure if the idea was to remind you to poop or if someone just really, really liked that color but I wasn’t going to stand for it!  Also, all of Josh’s bathrooms are on the small side.  So my first thought was, the bathroom colors need to be bright to open up the space.

See ya’ll, I wasn’t kidding about the color!

Guest Bathroom Before Paint


Paint 1


As you will notice, I am a lazy painter and don’t like to prime and then paint.  So instead I always go with Behr Paint & Primer.  I went with a pure white and painted the entire bathroom and ceiling to give it a nice open feel.

*Before Painting, I took down the dated mirror, all of the towel & toilet paper holders, and patched any holes.

I’m going to say that the walls look a TON better! – this was mid painting.

After Paint


Next on the to-do list, let paint dry and add decor….


Guest Bathroom Makeover: Bathtub

The first thing on the do to list?  BATHTUB!  It’s the only bathtub Josh’s home has and I kinda, sorta really like my baths!  Josh and I are on a tight budget and no matter how we crunched the numbers, we just couldn’t justify purchasing a new bathtub.  So after a lot of searching, I found a product that we agreed we should try.  It is called Rust-Oleum, Tub & Tile Finishing.  Basically we were just hoping to give the old and moldy bathtub a new sheen.

We purchased the Rust-Oleum product via Amazon for about $25.  Correct me if I’m wrong, but $25 is A LOT cheaper than a brand spankin’ new bathtub!!   The product arrived and we were super excited to get to work. Ok, ok… So Josh did all the bathtub work and I really can’t take any credit for it!
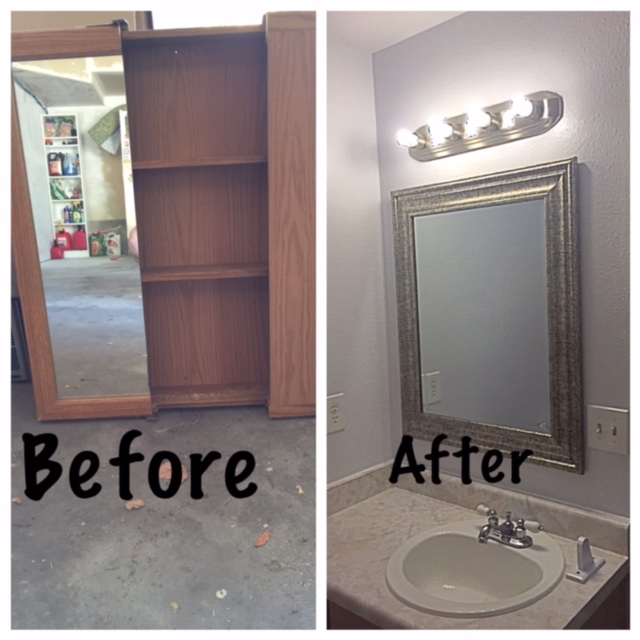
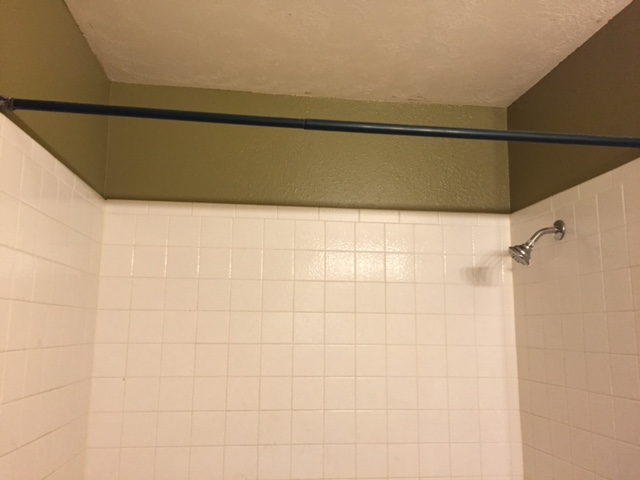
Before

I won’t be offended if you gag a little
scrub


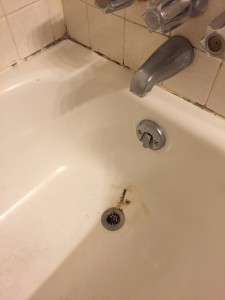
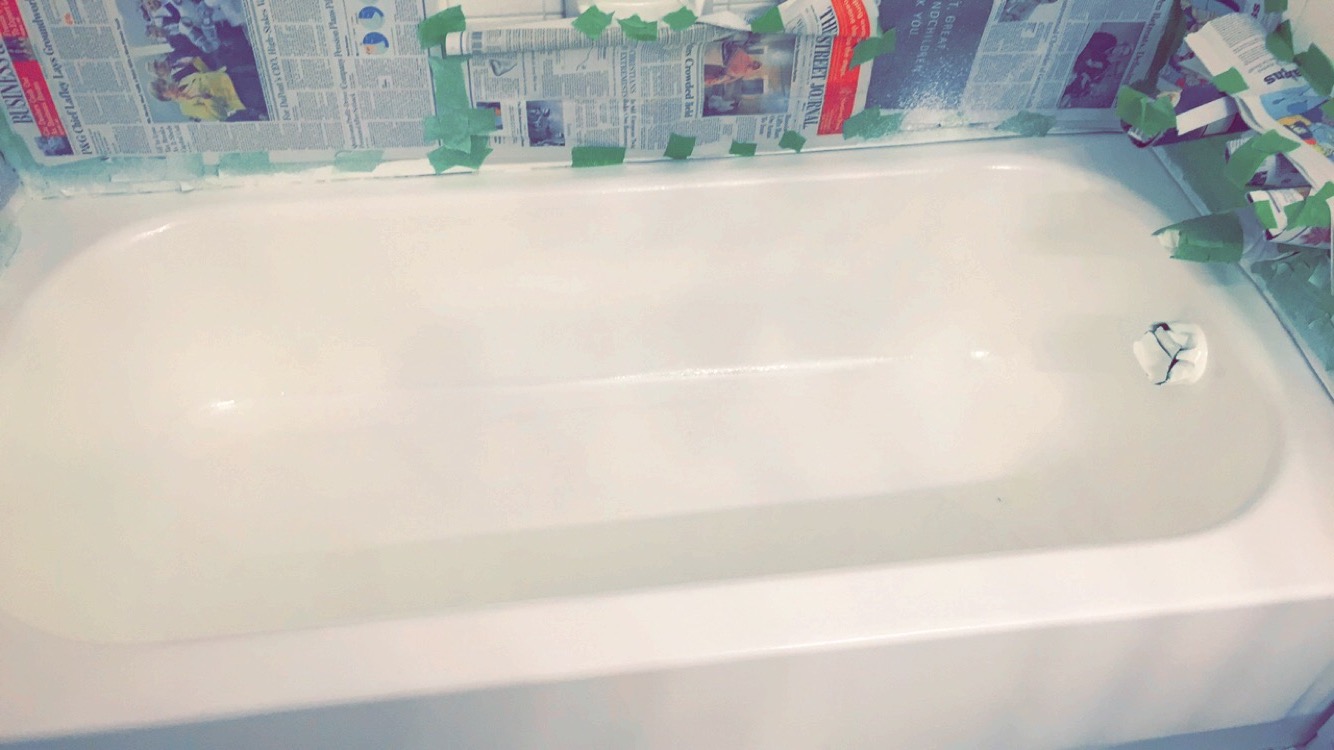
Josh had read a lot of information about the Rust-Oleum product and wanted to do everything by the book.  In order to get started, he needed to do the prep work.  He stripped all the moldy caulking up.  He then scrubbed the tub with bleach, then with comet, then with lime away and finally sanded with 80 grit up to 400 grit.  He did this process about 2-3 times.  *Our tub was really disgusting..I mean seriously, did you see the picture above?!*  Next he taped around the entire tub so that none of the finish would get on the floor, walls, etc.

Josh had read a lot of articles that described the Rust-Oleum product as being very STINKY. He bought a respirator mask, similar to this Paint Project Respirator.  *Although he looked scary in the mask, it was worth the purchase as this product is stinky times 100!* Once all masked up, he began to “paint” the tub with roller brushes.  Once done, we opened all the top story windows and let it dry.  *A lot of reviews say that although it may look clumpy to let it dry and it will smooth out as it drys.  *

After being fully dried – we waited about 2 days – we noticed there were a lot of imperfections.  Granted the bathtub looked sooo much better alredy, we still weren’t super satisfied.  So, as the perfectionists that we are, bought another round of Rust-Oleum to do a 2nd coat.  THIS time, Josh bought a Paint Spray Gun – wow, what a difference this made! He used this gun, Paint Spray Gun, by Harbor Freight which was on sale for $17.99!!  Before spraying on the 2nd coat he sanded down the problem areas and then simply went to “Paint Spray Gun” town.  This time we noticed a much better coverage of paint and LOVED the result!                          
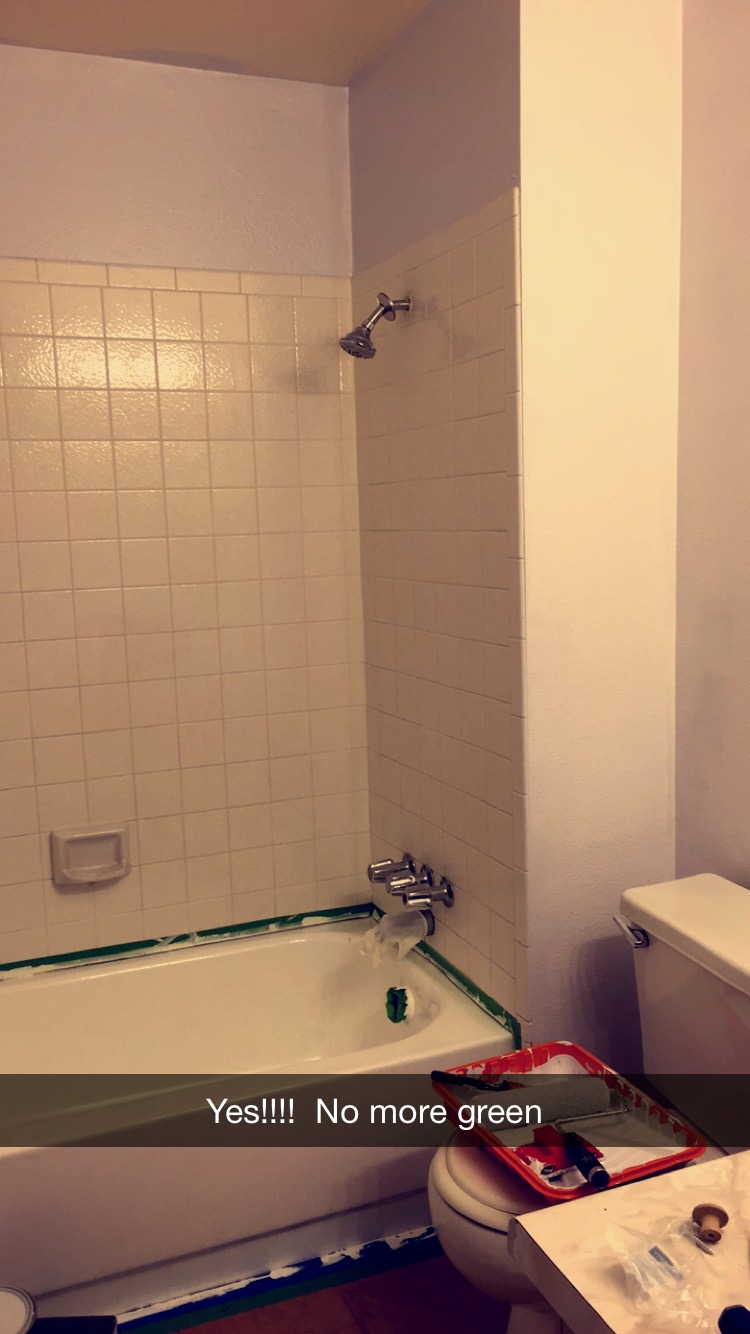
After

Completed Tub

The very last step that only took a few minutes was the caulking.  Make sure to buy Silicone Caulking.  We purchased something similar to this, Bathroom Caulking.

All in all, we spent a little over $100 with all products and supplies.  We spaced the tub project out over about 2 weeks as we didn’t  have company and didn’t need to use that bathroom.  Technically you could do this project in 1 day with a 1-2 day drying time.  If you just can’t afford to purchase a whole new tub, then this is the way to go!